
If you love a good roast, this recipe is for you. A cross rib roast packs a punch in flavor and keeps your wallet happy. In this guide, you’ll find a step-by-step method, tips, and tricks to serve a roast that stands out. You’ll learn what makes this cut special, how to season and cook it right, and how to whip up a smooth gravy. Let’s get cooking!
What is a Cross Rib Roast?
A cross rib roast is a cut from the shoulder. It has rich beef flavor and a bit of fat. This cut gives more taste than pricier roasts. Look for a roast with red meat and thin fat. This cut works well for both slicing and shredding.
Here’s what I discovered: This roast can easily beat expensive cuts when cooked with care.
Essential Ingredients and Equipment
For a 3-pound roast, you will need:
- 2.5 to 3.5 pounds of cross rib roast
- 2 tablespoons balsamic vinegar
- 2 tablespoons olive oil
- 2 tablespoons minced garlic (about 6 cloves)
- 2 teaspoons dried thyme
- 1 teaspoon dried rosemary (or 2 teaspoons fresh)
- 1 tablespoon kosher salt
- 1 teaspoon freshly ground black pepper
- 1 teaspoon paprika
- 1 teaspoon onion powder
- 1 medium yellow onion (chopped, optional)
For the Gravy (Optional):
- 2 tablespoons butter, softened
- 3 tablespoons all-purpose flour
- 1/4 cup red wine
- 2 cups low-sodium beef broth
- A dash of browning sauce (optional)
- Salt and pepper to taste
Equipment Needed:
- A roasting pan with a rack
- An instant-read meat thermometer
- A sharp carving knife
- Aluminum foil for resting
- A whisk for the gravy
Quick Tip: If you lack a rack, slice vegetables to raise the roast from the pan.
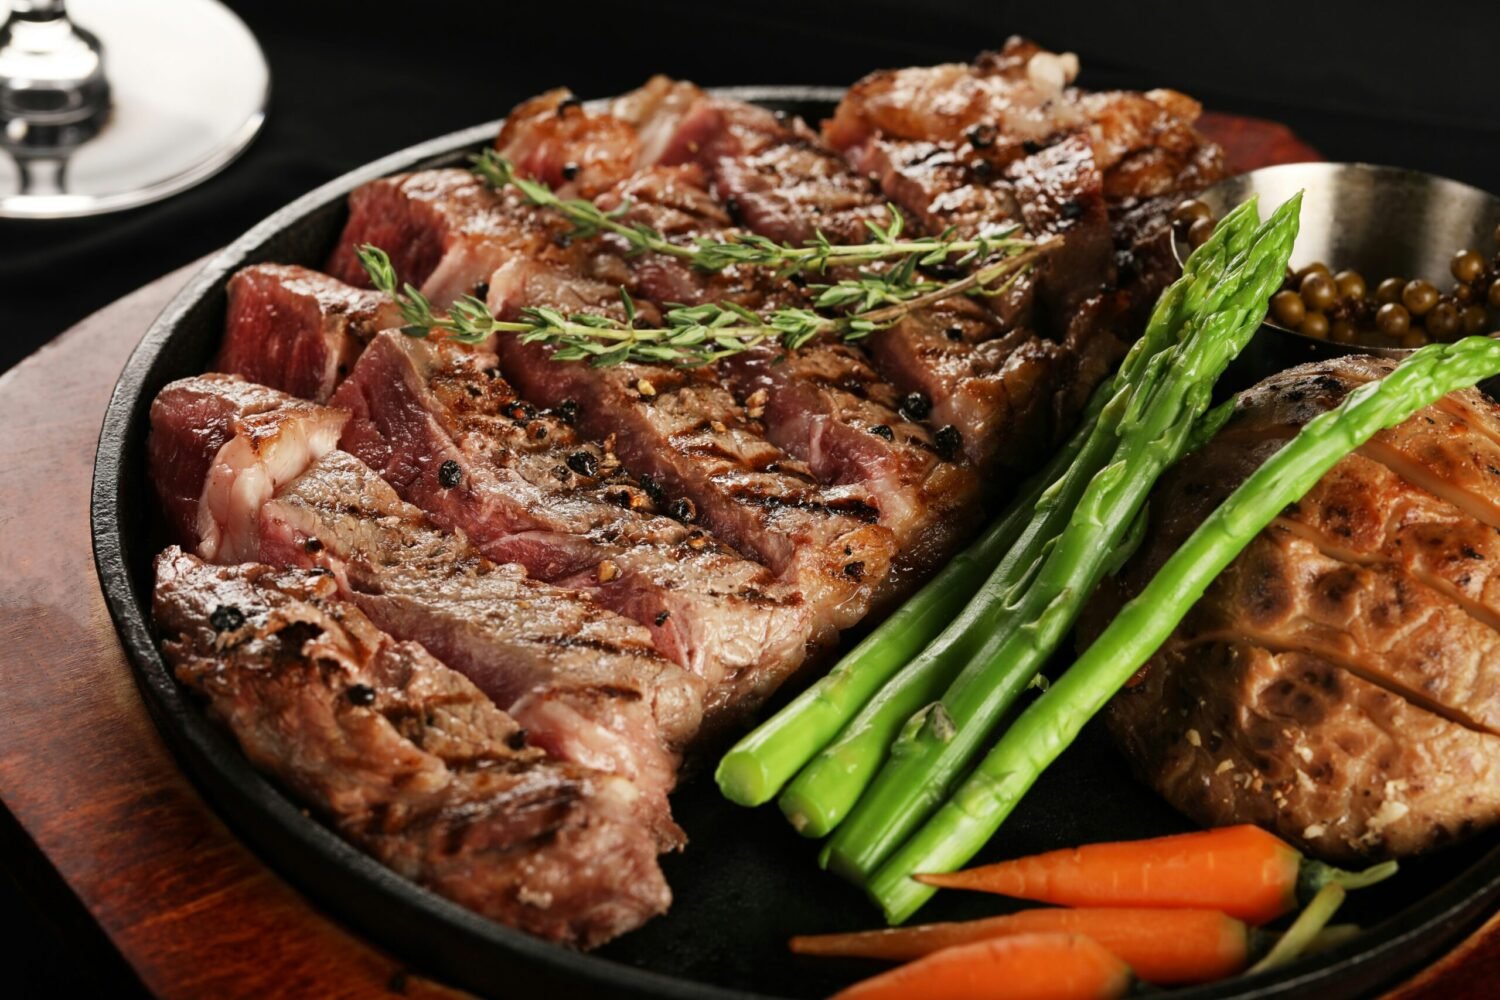
Preparation: Setting Up for Success
The Day Before: Seasoning Your Roast
- Pat the roast dry with paper towels.
- Brush it with balsamic vinegar on all sides.
- Mix olive oil, garlic, thyme, rosemary, salt, pepper, paprika, and onion powder in a bowl.
- Rub the herb paste over the entire roast. Make sure every part is coated.
- Cover loosely with plastic wrap and chill for at least 2 hours, or overnight if you prefer.
I learned this the hard way: Let the roast sit in the fridge to let the flavors sink in.
The Day Of: Bringing It to Room Temperature
- Remove the roast from the fridge 45 to 60 minutes before cooking.
- Preheat your oven to 450°F.
- Prepare your roasting pan and set up your rack or vegetable slice base.
- Place the roast fat-side up on the rack so the melting fat graces the meat.
- Set your meat thermometer in place if you have one that stays in the oven.
This absolutely amazed me: Let the meat warm up at room temperature; it cooks evenly.
Two Foolproof Cooking Methods
Method 1: Traditional Roasting (Medium-Rare Sliced Beef)
- Place the roast in the 450°F oven. Roast for 15 minutes to create a crust.
- Without opening the door, lower the oven to 300°F.
- Continue roasting for 40 to 60 minutes. Start checking at 35 minutes.
- Remove the roast when the thickest part reads:
- 125°F for rare,
- 130-135°F for medium-rare (best for tenderness),
- 140-145°F for medium.
- Tent loosely with foil and let it rest for 15 to 20 minutes. The temperature will rise a bit.
- Slice thinly across the grain.
Quick Win: A brief high-heat roast forms a lovely crust that seals in moisture.
Method 2: Low and Slow (Fork-Tender Shredded Beef)
- Start with a 15-minute burst at 450°F, just like the first method.
- Lower the oven to 275°F. Wait for the oven to drop in temperature.
- Pour 1 to 2 cups of water or beef broth into the pan.
- Cover the roast tightly with foil.
- Roast for about 1 hour per pound (roughly 3 hours for a 3-pound roast).
- Check if you can easily pull the meat apart with two forks.
- Let it rest lightly covered for 15 minutes, then shred the meat.
I learned this the hard way: Low and slow cooking makes the meat so soft you can pull it apart with a fork.
Making Perfect Gravy
- After the roast rests, pour all the juices from the cutting board back into the pan.
- Place the pan on the stove over medium heat.
- Pour in the red wine and scrape the pan with a wooden spoon to loosen browned bits.
- Allow the wine to reduce for 2 to 3 minutes.
- Add the beef broth. Bring it to a gentle simmer.
- Mix the butter and flour in a small bowl to form a paste.
- Whisk the paste into the simmering liquid slowly. Keep whisking until the gravy thickens.
- Taste and add salt and pepper if needed.
This absolutely amazed me: Use all the juices for a rich and flavorful sauce.
Frequently Asked Questions
How do I pick a good cross rib roast?
Look for a roast with a bright red color and even marbling. It should have a thin layer of fat on one side. A roast of 2 to 4 pounds works best.
Can I use fresh herbs instead of dried?
Yes, fresh herbs work great. Use about twice the amount if using fresh compared to dried.
What if I don’t have a roasting rack?
You can make a rack with thick vegetable slices. They lift the roast and add extra flavor to the drippings.
Is one cooking method better than the other?
Both methods yield excellent results. Traditional roasting gives a firm, sliceable roast while low and slow produces soft, shreddable meat. Choose based on your meal plan.
How long should I let the roast rest?
Resting for 15 to 20 minutes is key. It helps the juices flow back into the meat.
Can I adapt this recipe for a slow cooker?
Yes! Sear the roast first and then cook on low for 8 to 10 hours. Check for fork tenderness before serving.
Key Takeaways
This cross rib roast recipe is perfect for any occasion. It is simple, flavorful, and budget-friendly. A good roast does not have to cost a fortune. With the right preparation and cooking, you can serve a dish that tastes gourmet.
I’m excited for you to try this recipe and share your results. Enjoy your meal and spread the joy of home-cooked food!